MEASUREMENT RESULTS
Hundreds of thousands of points on a component
3D scanning or measurement offers many advantages compared to traditional dimensional measurement and can be utilized for several reasons. The method can be used to check for shape deviations or changes, but also to create drawings of details where drawings are missing, a process known as reverse engineering. LaserTool has extensive experience in both dimensional measurement and reverse engineering and can provide these services complete with measurement, measurement reports, and/or finished drawings in both 3D and 2D formats.
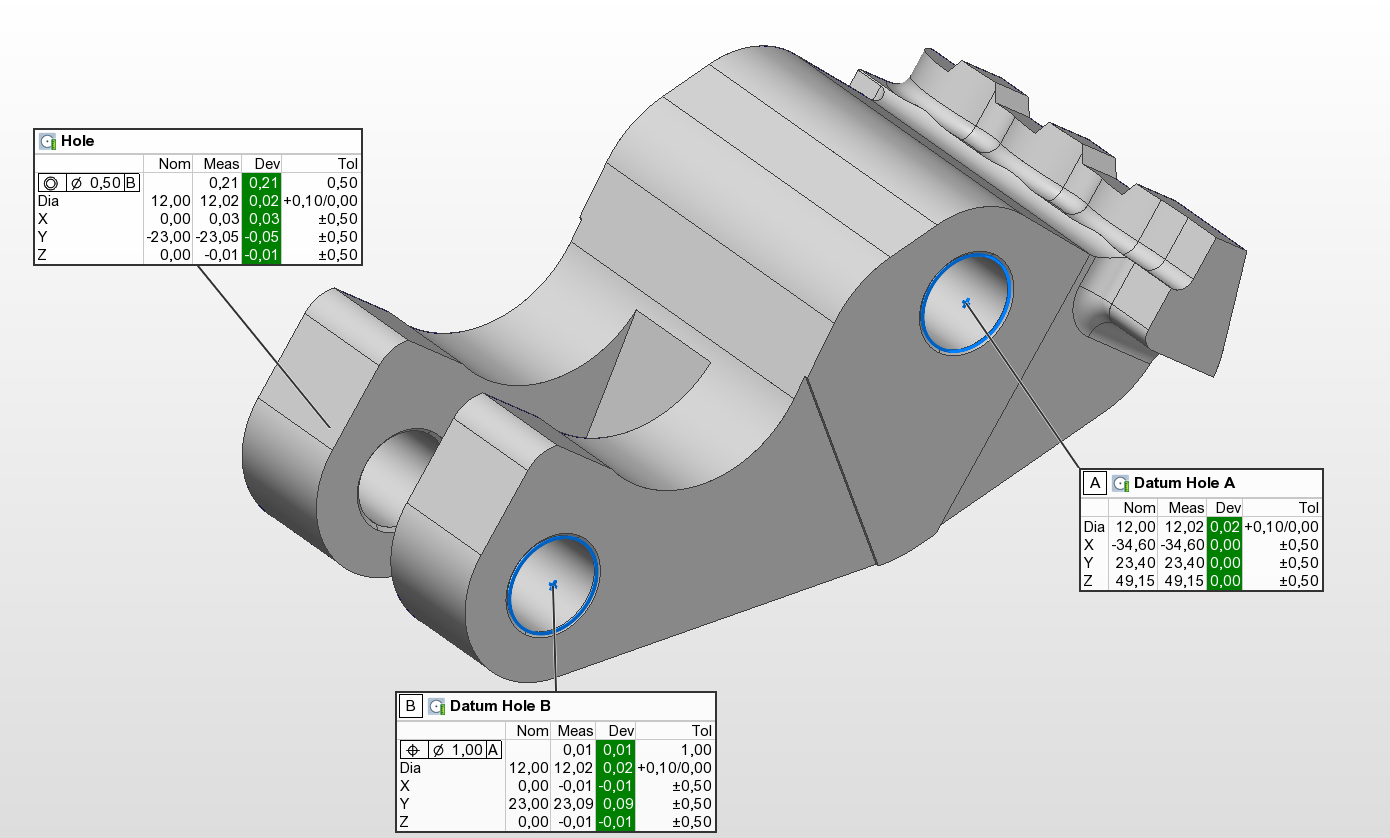
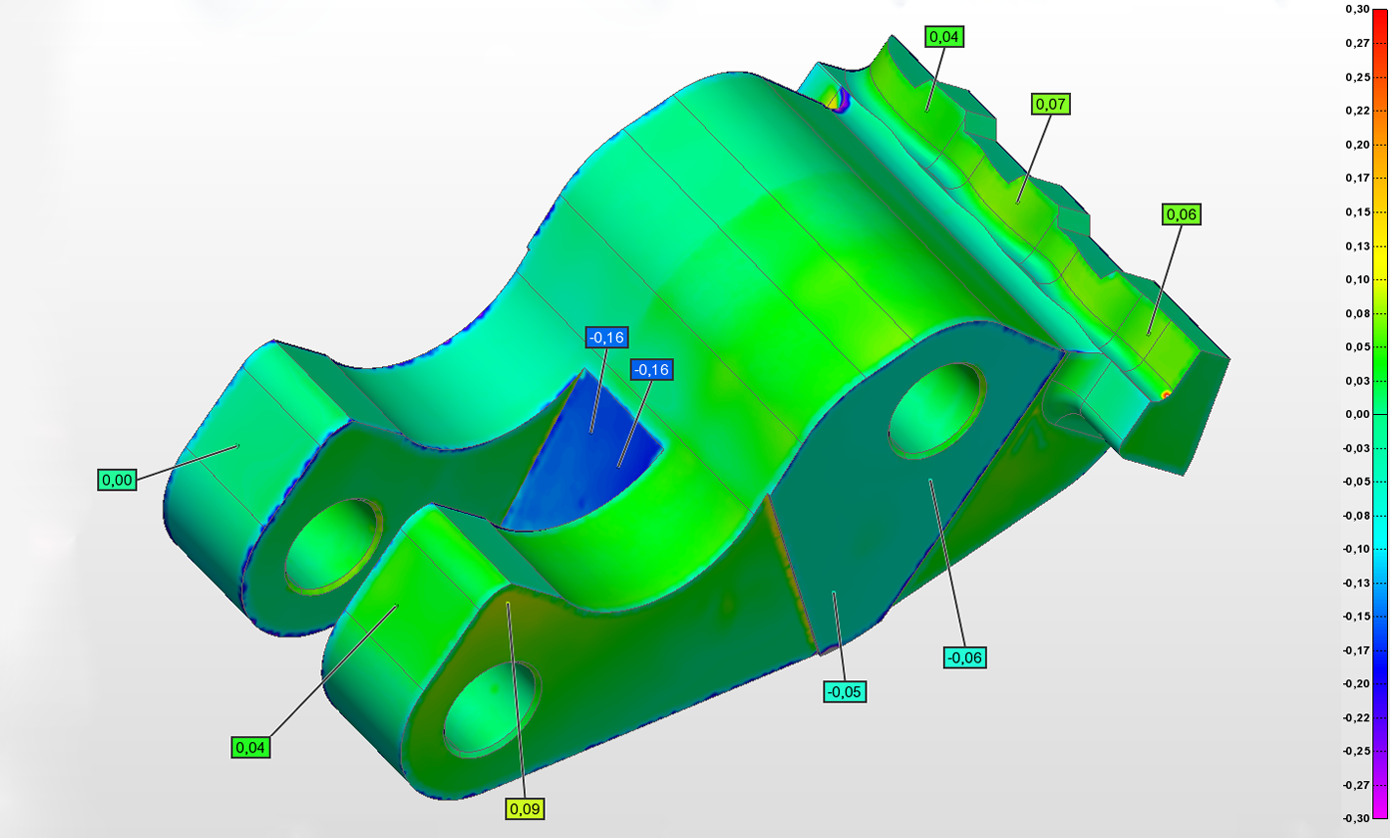
Through 3D scanning, measurement results can be quickly and efficiently obtained in the form of reports with numerical values. These can be tailored to the need, and the results can be presented both visually as a color scale and in numbers, which can also be exported to an Excel spreadsheet.
A significant difference from traditional measurement, which reads the points that have been pre-determined, is that the scanner captures hundreds of thousands of points on the component. This makes it possible to see more gradually where a deviation begins, and it also allows for moving or adding measurement points without needing to remeasure the entire component.
CUSTOMER CASE
Spare Part SSAB
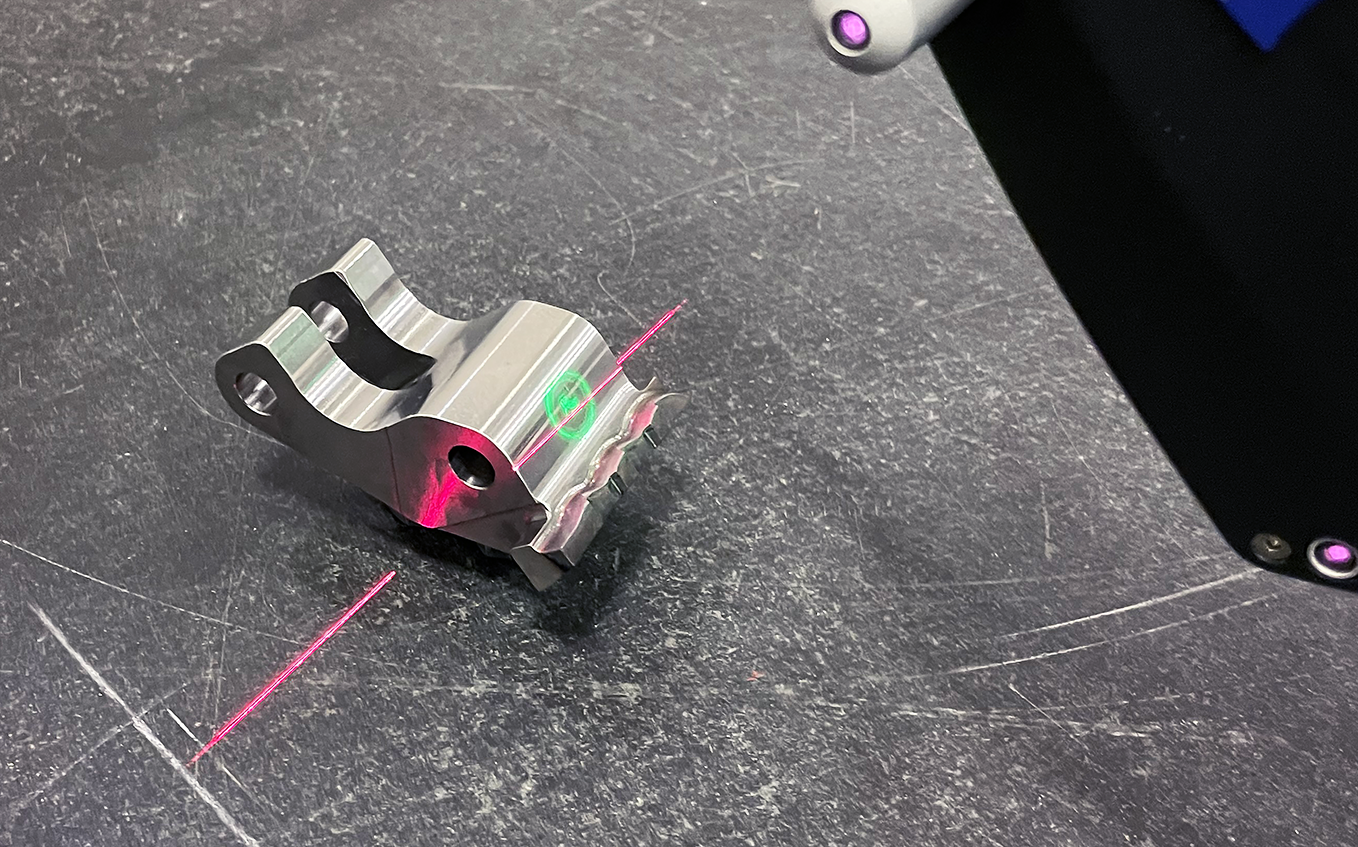
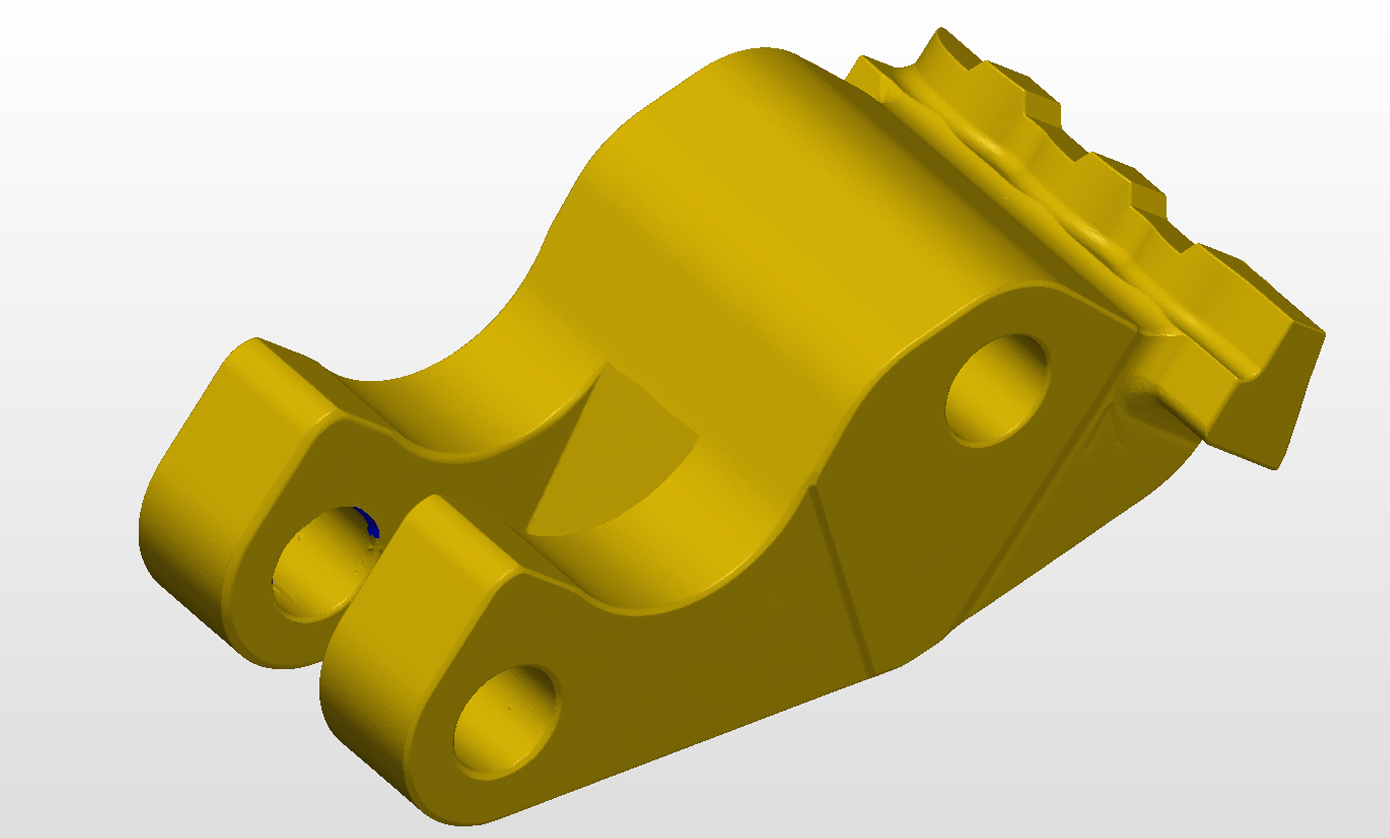
Here, we have conducted reverse engineering on an existing component and created a 3D model, which we then used to manufacture a new component in Toolox® 44. After manufacturing, it has been laser hardened and inspected against the 3D model.


KUNDCASE
Spare Part SSAB
Here, we have conducted reverse engineering on an existing component and created a 3D model, which we then used to manufacture a new component in Toolox® 44. After manufacturing, it has been laser hardened and inspected against the 3D model.


CUSTOMER CASE
Spare Part SSAB
Here, we have conducted reverse engineering on an existing component and created a 3D model, which we then used to manufacture a new component in Toolox® 44. After manufacturing, it has been laser hardened and inspected against the 3D model.
